Category: Photography

  • How to Use the Golden Ratio in Photography

    How to Use the Golden Ratio in Photography

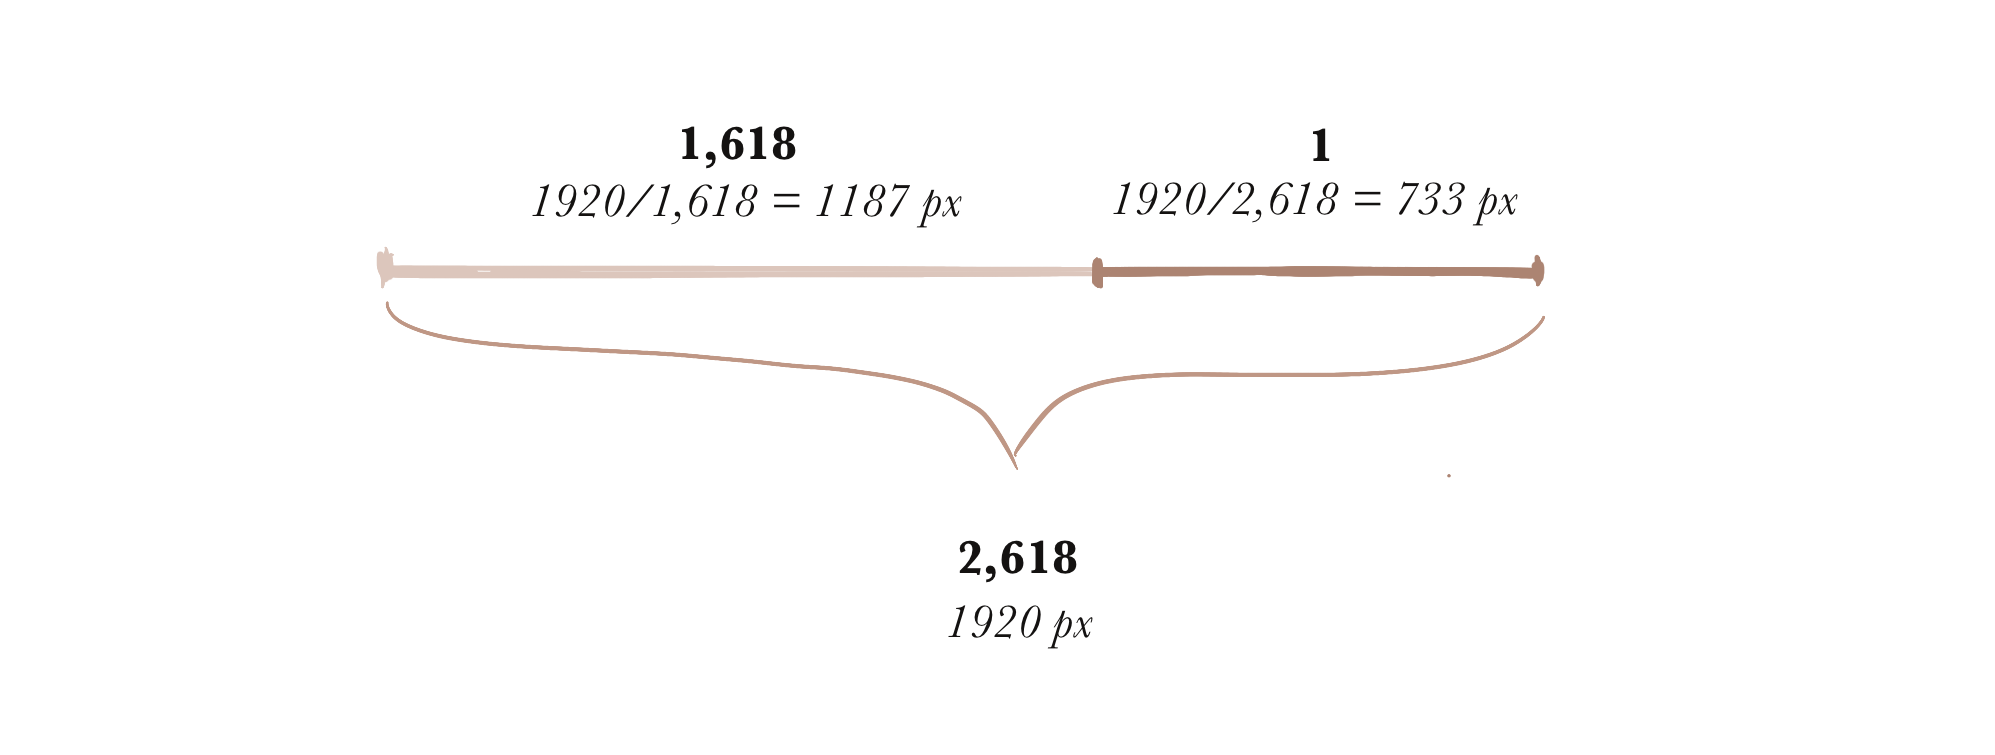
    The golden ratio is a compositional rule that has been used since antiquity. The golden ratio is easily obtained by dividing a line into two parts so that the ratio of the shorter to the longer part is about 1:1.618.
    How to calculate the golden ratio in a photo

    So basically, if you want to divide 1920 pixels by the golden ratio, dig out a calculator or spreadsheet and do this:

    • To find the length of the longer line, divide the total length by 1.618.
    • To find the shorter length, divide the total length by 2.618.

    From a photographer’s point of view, the golden ratio is a bit like the rule of thirds, where the image area is divided vertically and horizontally into three equal parts.

    Ad

    But the golden ratio is above all a composition that supports the story and flow of the image, where it is not enough to place the elements in one of the intersections of the three parts. The Fibonacci spiral, derived from the golden ratio, is a good tool for framing a photo but especially for editing and cropping. You can save the png below and place it on top of your own image.

    Fibonacci spiral

    How to use the golden ratio in a photo

    The golden ratio can be used, for example, to define a point on the horizon, to lay out architectural lines or to lay out the main elements of an image. As a rule of thumb, a balanced and pleasing image is achieved when elements are placed at an intersection.
    The Fibonacci curve can be used as a compositional aid when framing the picture. The idea is that the arc wraps around the focal point of the image and the viewer’s gaze is usually directed from left to right.

    In this way, the photographer must consider not only the placement of the main subject, but also the position of secondary subjects in the image. The golden ratio is therefore a little more difficult to use than the simpler rule of thirds.

    You can also use a golden ratio to help you crop the image. Adobe’s Lightroom, for example, comes with golden ratio guide lines. Select the Crop tool and press O to switch between guide lines.

    Three-dimensional Fibonacci curve and golden ratio

    For challenging portraits or still lifes, thinking of the Fibonacci curve as a three-dimensional figure can help. The focal curve of the arc can then be either a depression or a hill.

    This can help you plan where to add the foreground and where to place the subject in the picture. You can also place a secondary object on the Fibonacci arc.

    Examples of photos with golden ratio

    When using the golden ratio, it seems like cheating that the golden ratio seems very precise but most pictures are mere approximations. One would think that if there’s inherent beauty in the golden ratio, the same inherent beauty wouldn’t exist in a 1:1.7 ratio – not to the same extent at least.

    However, the rules of composition are made to be broken. In the images below, the Fibonacci spiral and the golden section have been used to crop the image. Some images do a better job of guiding the eye better than others.
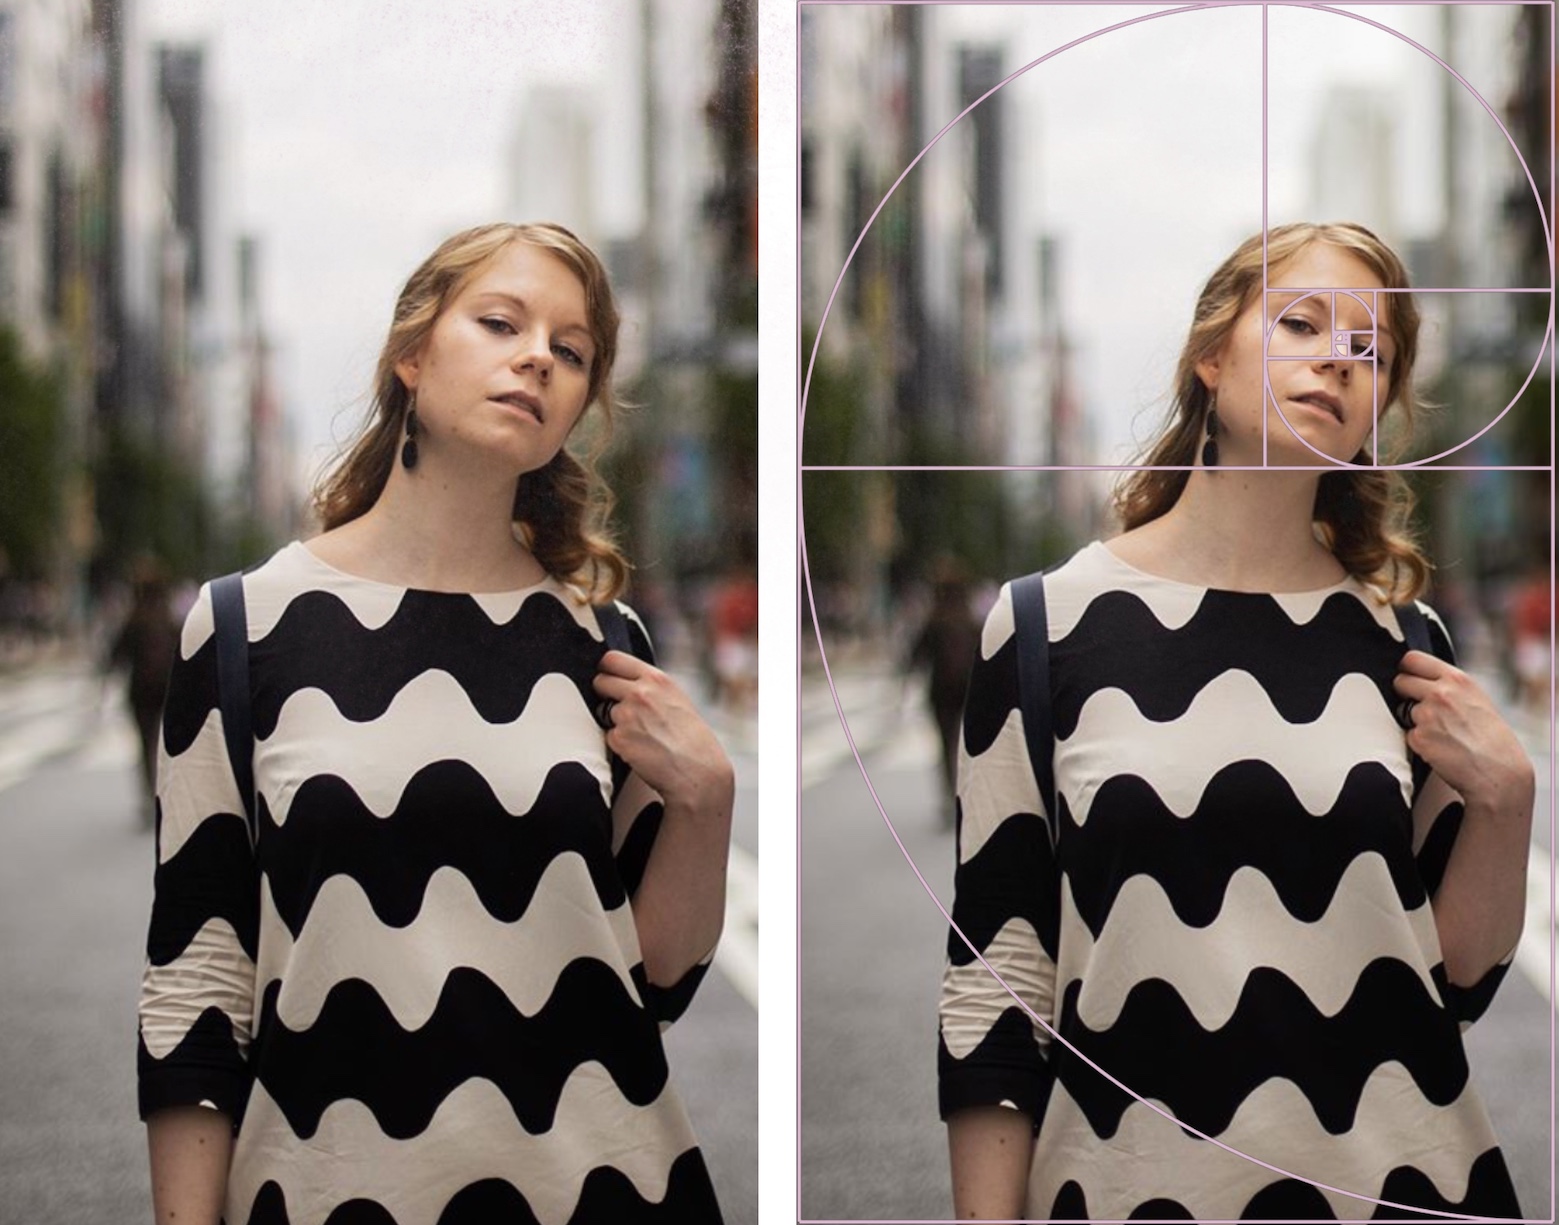
    Above: the position of the model, the faint lines in the background and the cropping of the image are well suited to the golden ratio.
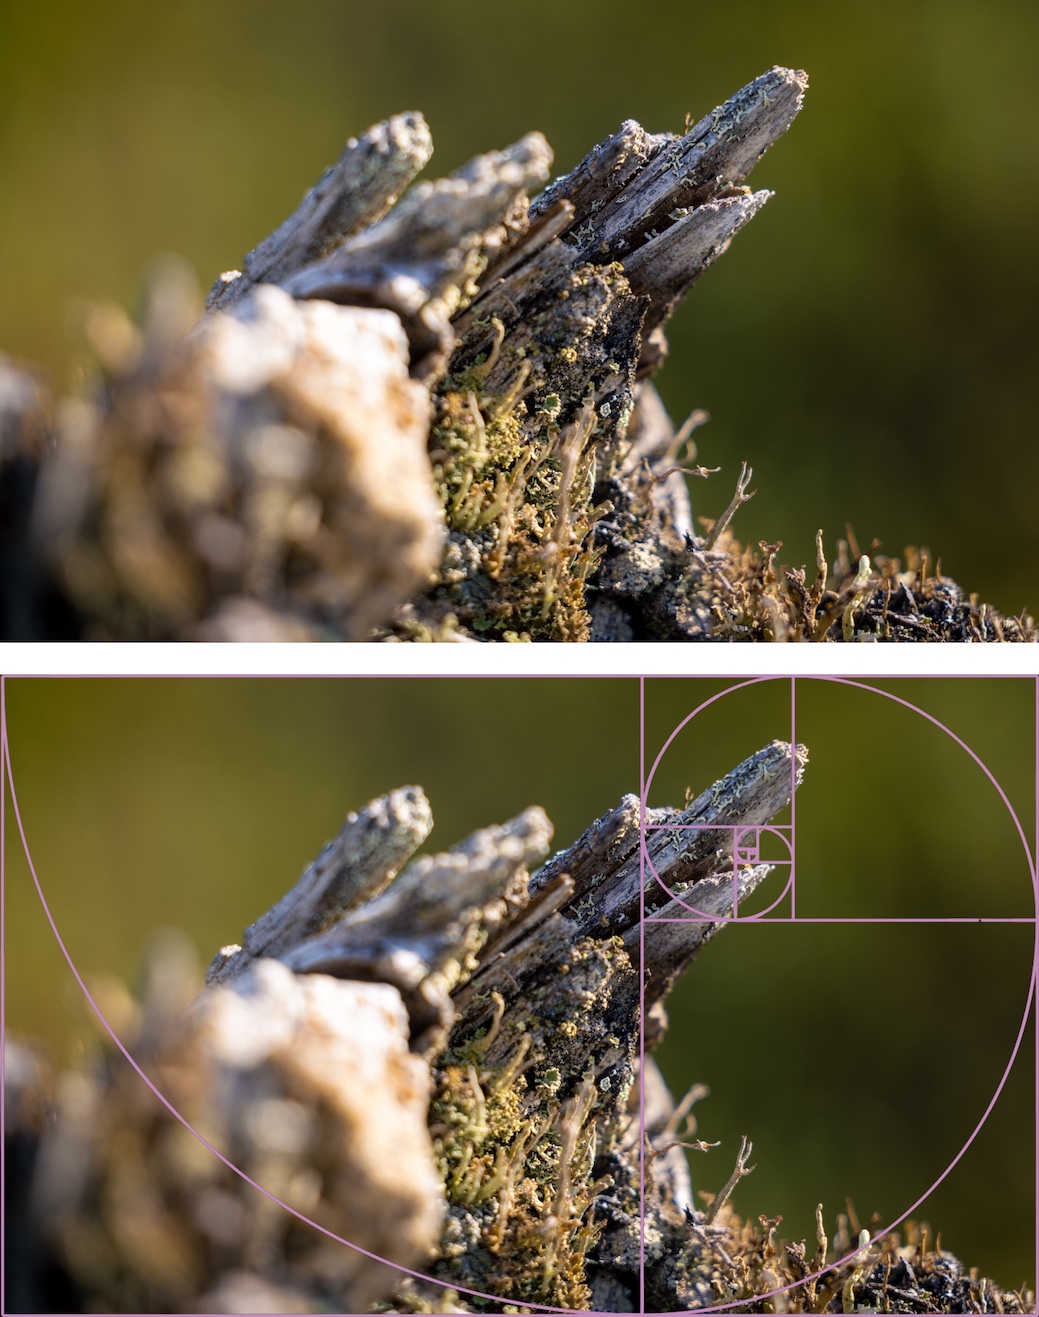
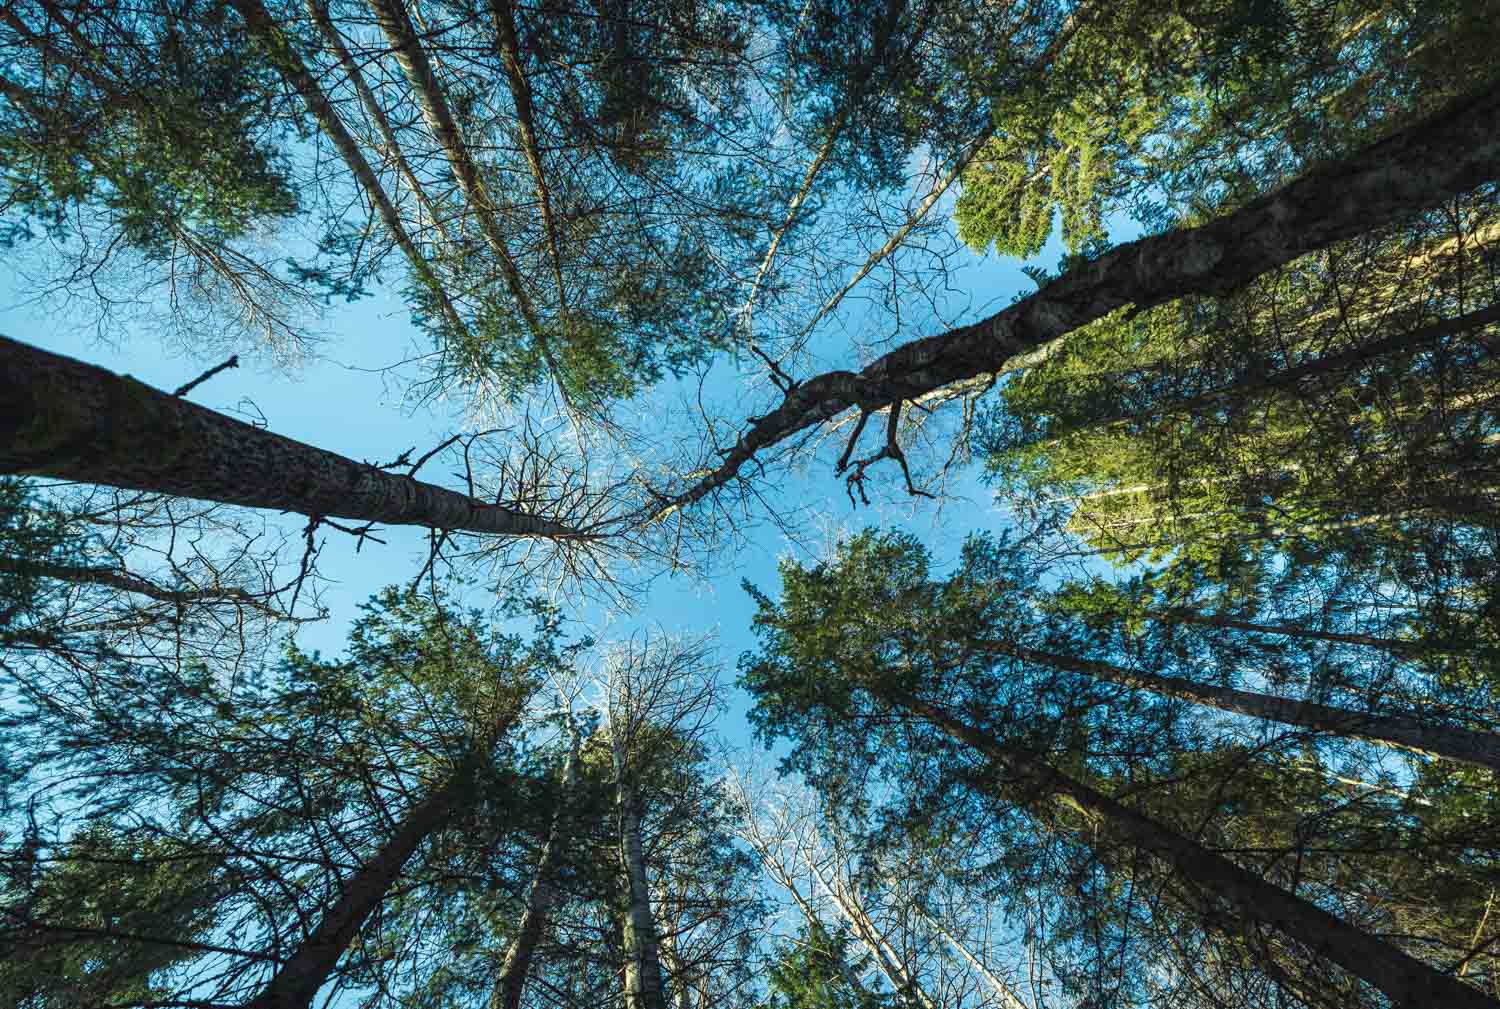
    Above: In this nature photo, the gaze is directed to the mountain-like stump. On the left, the foreground guides the eye quite well, but is a little too close to the point of focus.
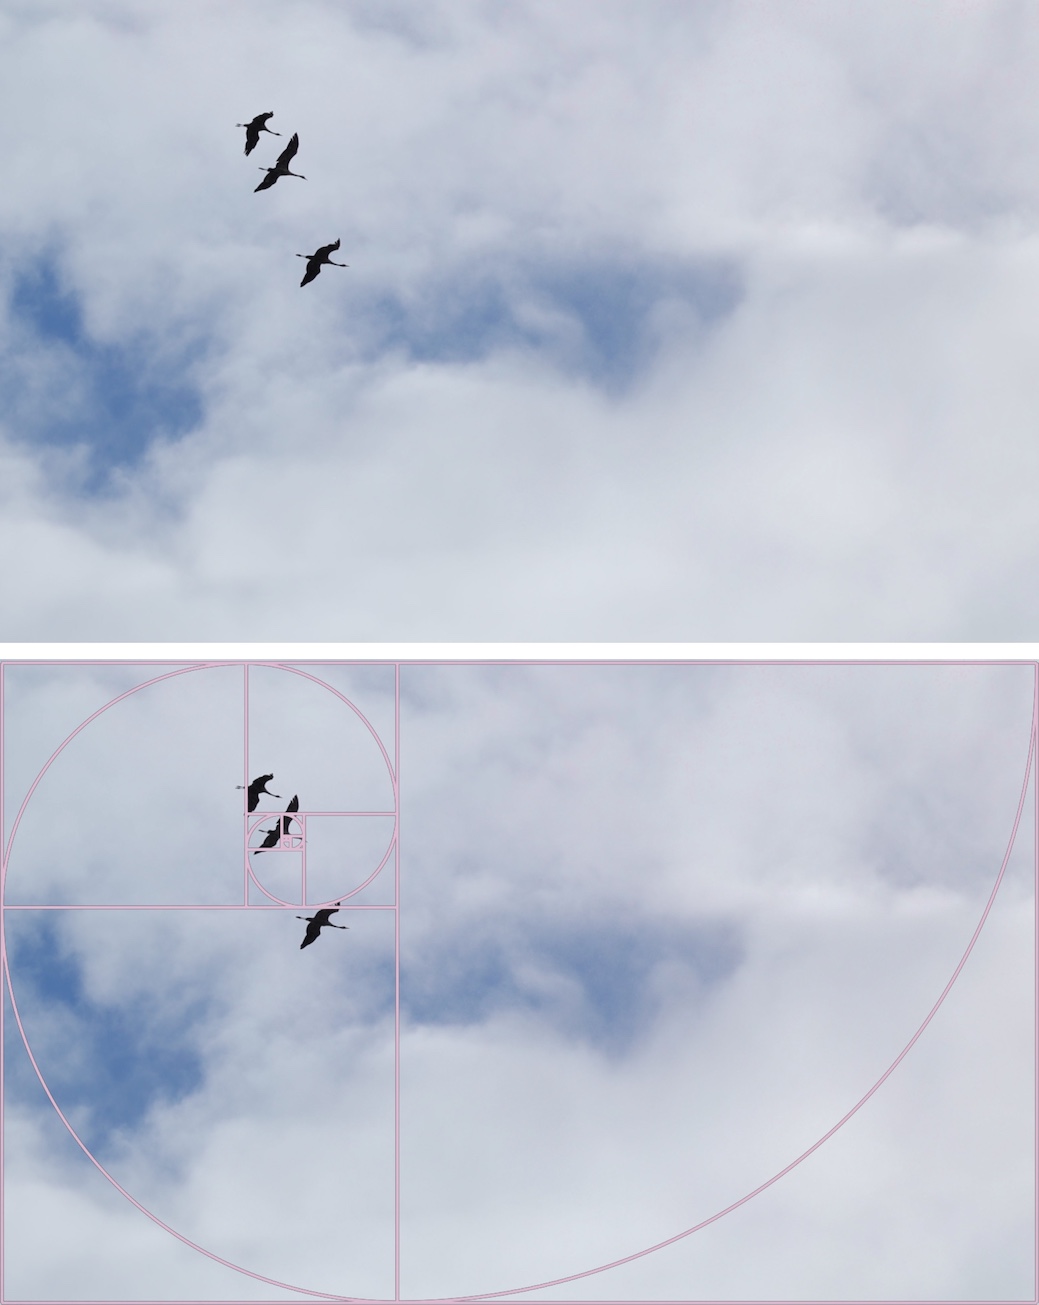
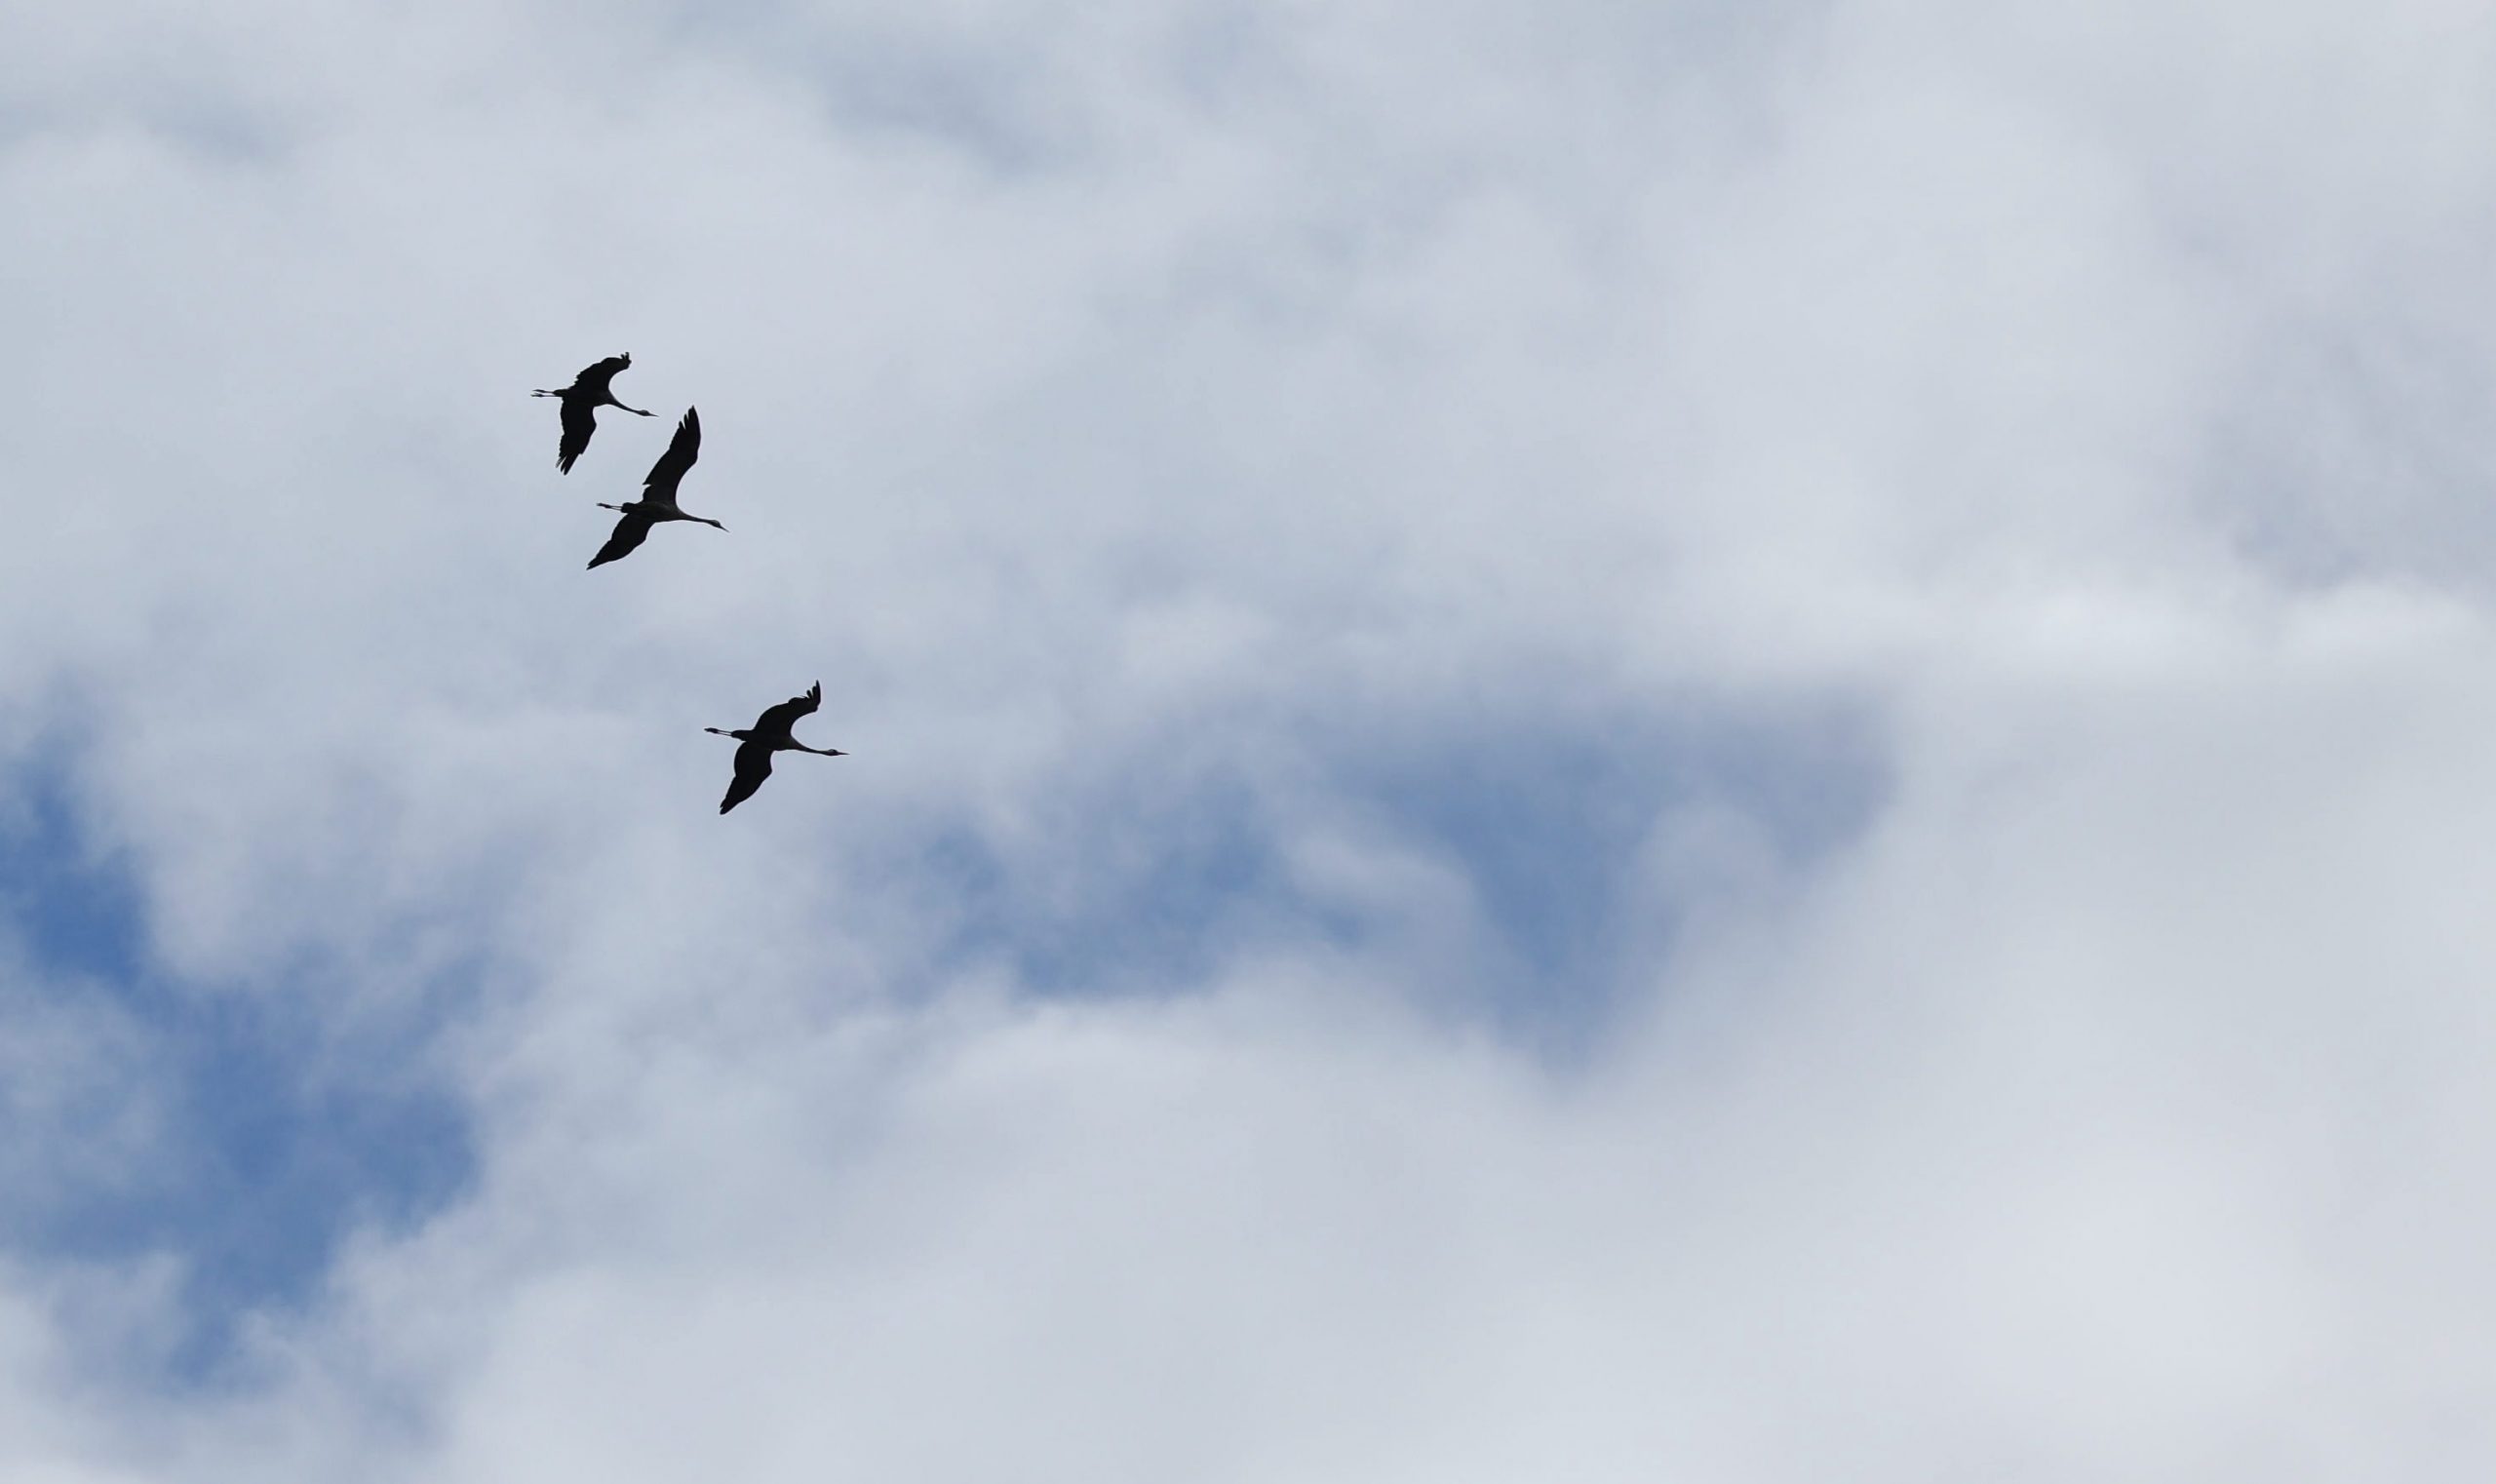
    Above: the cranes could be placed almost anywhere in the picture. In this crop, they are placed in the centre of the Fibonacci spiral. Birds are free to continue their movement to the left into the empty sky.

    Have fun using the golden ratio!

  • Canon RF 15–35 mm F2.8L IS USM | Hands-On Review

    Canon RF 15–35 mm F2.8L IS USM | Hands-On Review

    Affiliate links marked with *.

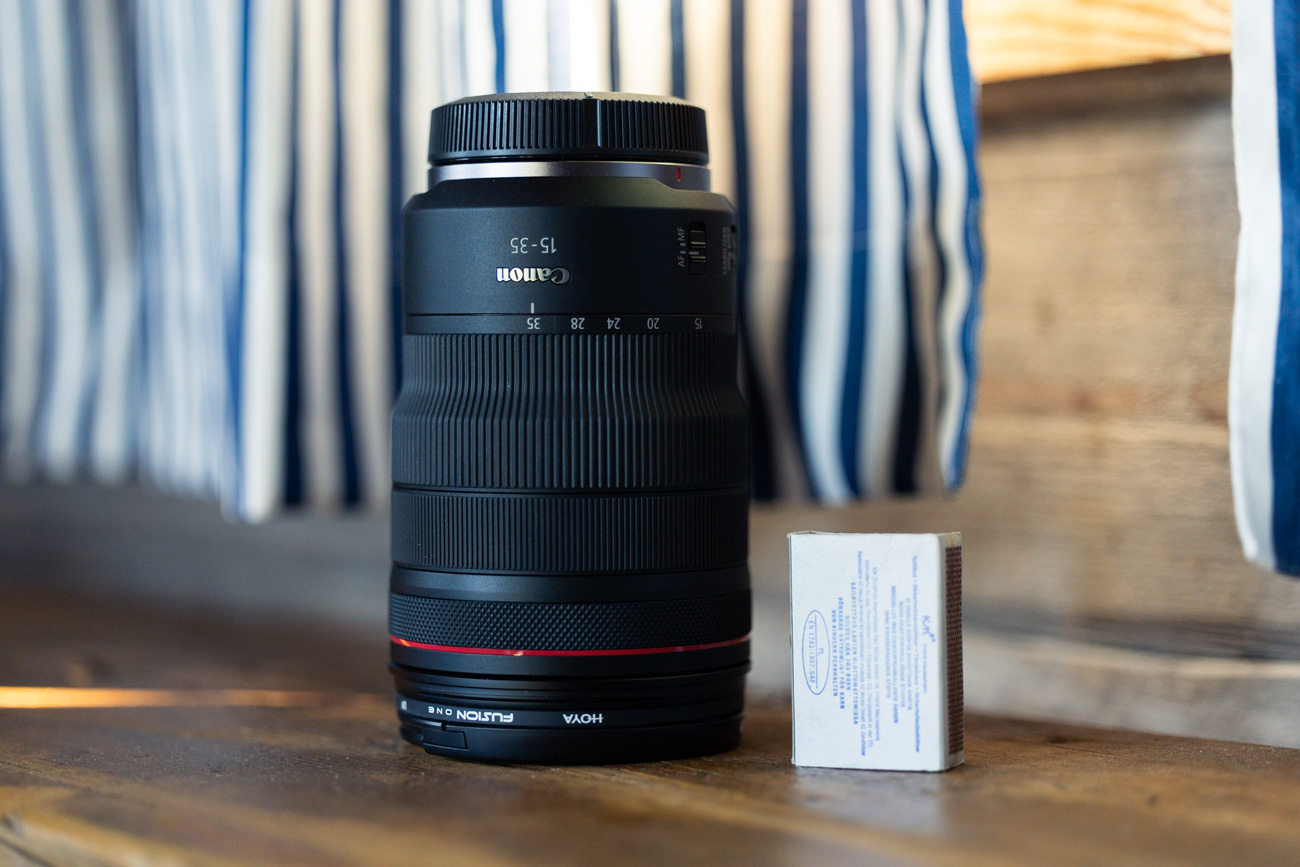
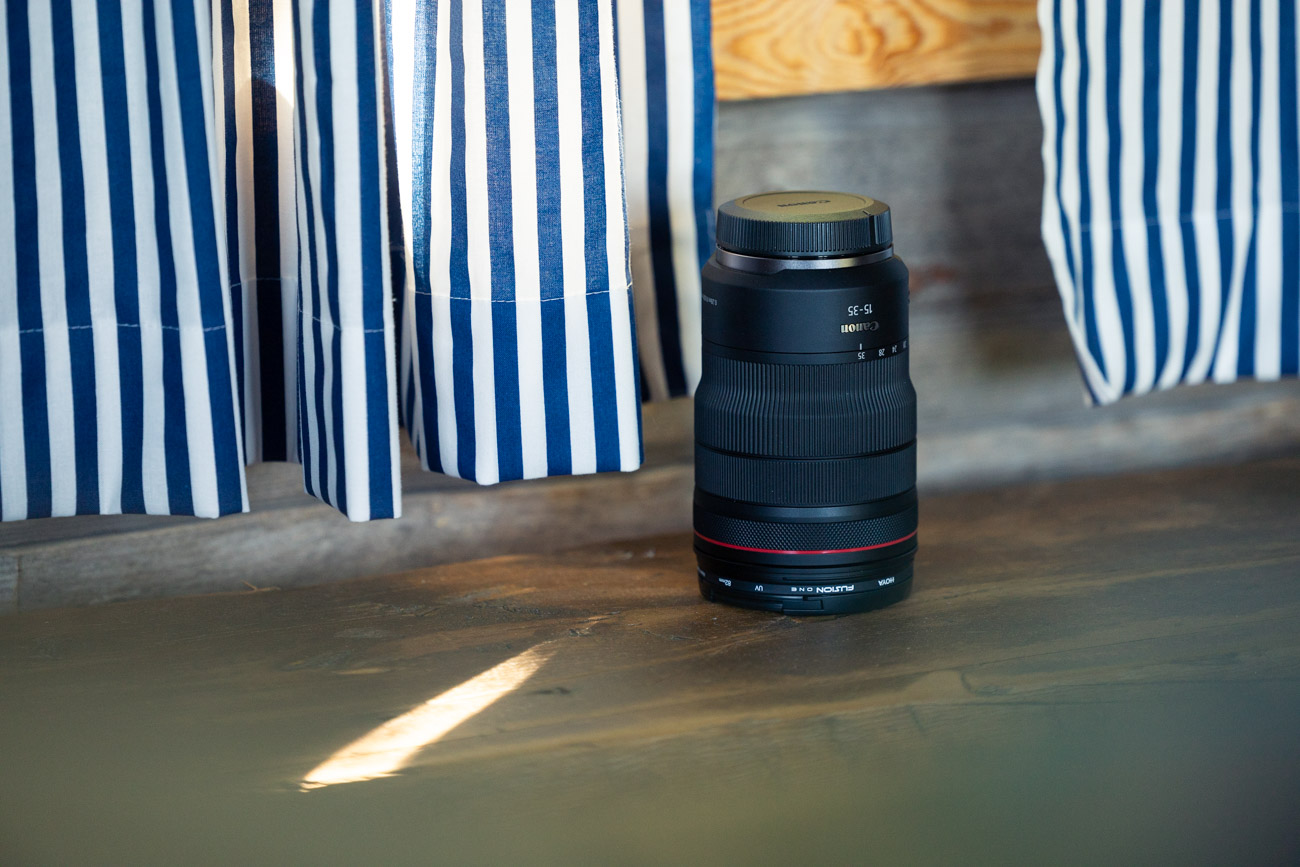
    Canon’s new RF mount already has many interesting (and costly) lenses. This article reviews the 15-35mm wide-angle lens released by Canon in 2019.

    Here are the lens details in a nutshell.

    Name: Canon RF 15-35mm F2.8L IS USM

    • Bright F2.8
    • L-Series Ultra Wide Angle
    • 5-Step Image Stabilizer
    • Nano USM Focus
    • Weight: 840g
    • Minimum focusing distance: 28 cm
    • Customizable adjustment ring at the front of the lens
    • Price: € 2,300 or so
    • Buy from Amazon*

    At the time of writing, I’ve been using the lens for about a month on Canon EOS RP. (Update: Lately I’ve also been using it with the Canon R6). I’ve been shooting mainly interiors, events, nature and products.

    Canon RF 15-35mm F2.8: Extremely Good and Really Valuable

    First things first: I haven’t done a full technical review of the lens and I don’t have experience with other wide angle lenses, so I can’t say how well the lens is technically doing. The Ken Rockwell review has more test images and technical information for those looking for it.

    However, the Canon RF 15-35mm F2.8 lens can be summed up like this: really good and really valuable (expensive). If money is not an issue and you need a RF mounted wide-angle lens, there’s nothing to stop you from getting this lens.

    I liked:

    • Bright wide angle (15 mm is wiiiiiide)
    • High-quality build
    • Quiet and focuses fast
    • Image stabilization saves you from blurry images

    I didn’t like:

    • Nothing I didn’t like (my wallet disagrees)

    Hands-on Review: Canon’s Wide-Angle Lens in Action

    I have been using mostly the Canon RF mounted telezoom (RF 70-200mm F 2.8L*) and this wide angle. Both are fast L-series masterpieces that are nice to hold and admire even when you’re not taking any shots.

    The 15–35 mm lens has opened up my photography to new areas. With this wide-angle lens, I have mainly taken product and nature pictures. Switching between this and the 70–200 F2.8 you can manage almost any situation encountered in non-professional situations. Or even some semi-professional shoots. I personally have not missed the third Trinity lens, i.e. the 20-70mm F2.8L lens.

    • Focus is fast, quiet, and accurate. Usually, it just snaps into the right object from the get-go.
    • Image quality is not an issue. I’m not a good enough photographer to miss anything on lens quality. I believe the same can be said for many other photographers. The lens quality won’t be an issue.
    • What you shoot affects how often you need this. I’ve enjoyed the 15–35 mm especially in cramped interiors where it does the job brilliantly. However, the 70-200mm telephoto zoom is more familiar to me so I tend to gravitate towards that.

    To sum up: if your wallet is thick enough and you need a wide-angle lens, then the Canon L-Series lenses are a sure choice.

    Canon RF 15-35mm with Canon R6

    Since first getting started with this lens I’ve upgraded the body to a Canon R6. It features in-body image stabilization and even though it’s a bit heavier than the RP, it’s on a whole new level in terms of dependability.

    I’m not really a pro photographer, even though I do some product and event photography on the side. That said, I feel a lot more confident with my two L-series lenses and R6 than I did with my RP.

    It feels like I can’t fail.

    The autofocus is snappy, the stabilization is great and more often than not I get the shot that I want. I shoot in RAW so that gives me the ability to fix things in post (yeah, I said it) that I didn’t get right in the camera.

    So, while gear doesn’t make anyone a great photographer it has helped be succeed more often.

    Sample images: Canon RF 15-35mm F2.8L

    Product images
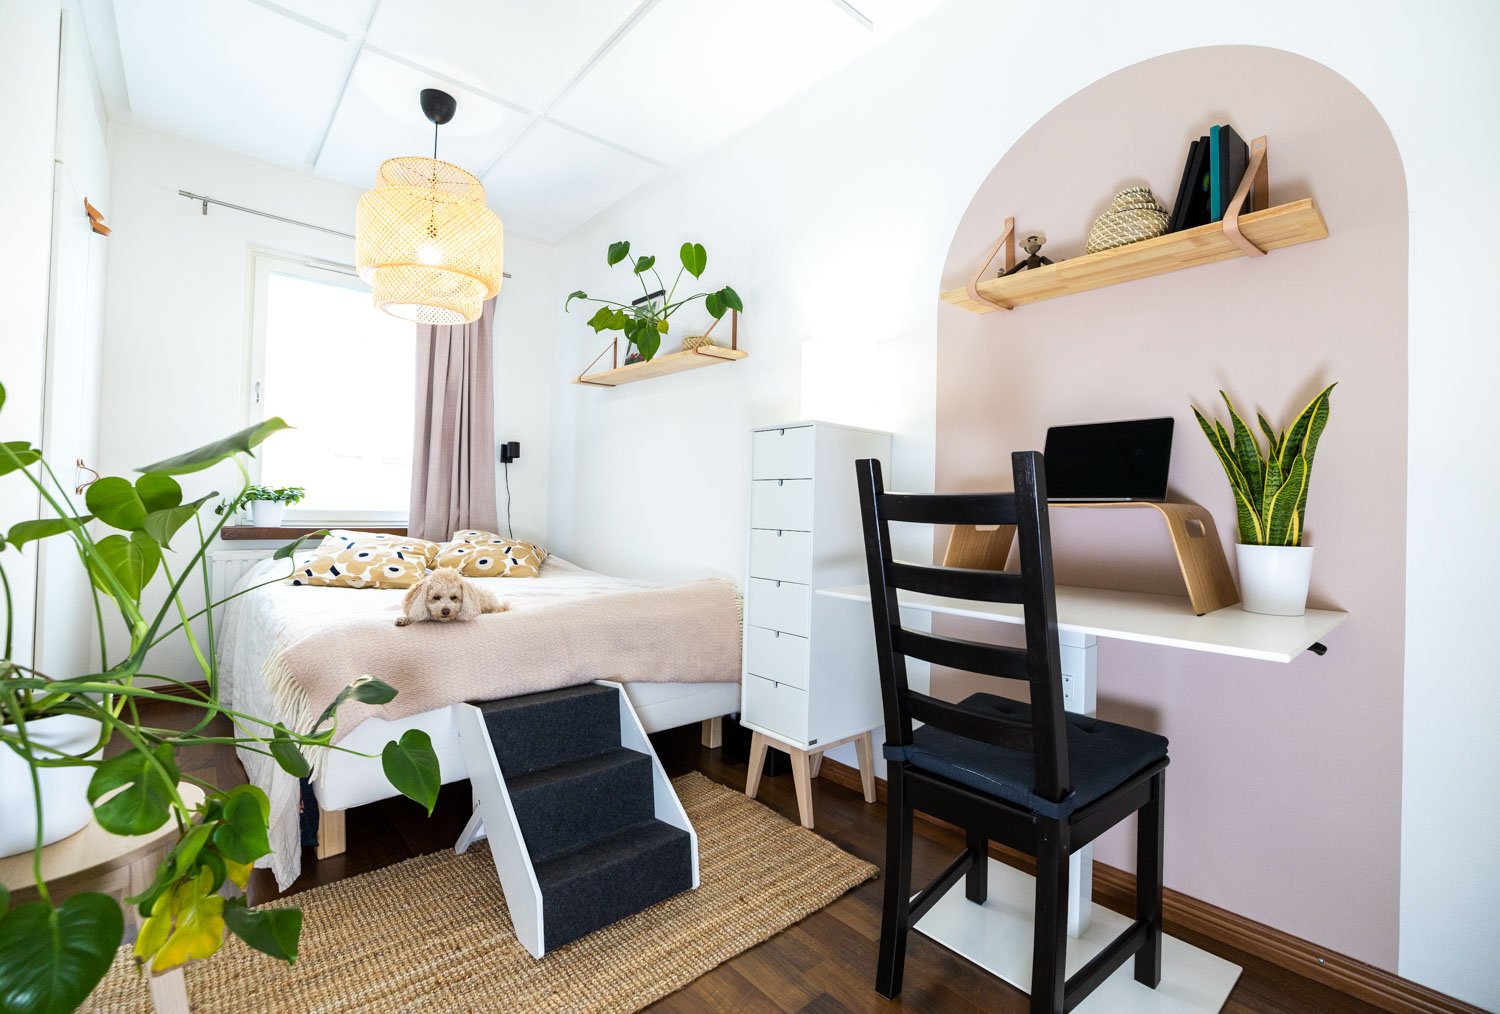
    Laajakulma sisätilojen kuvaamiseen
    The fast F2.8 15-35mm is great for making cramped interior shots feel spacious
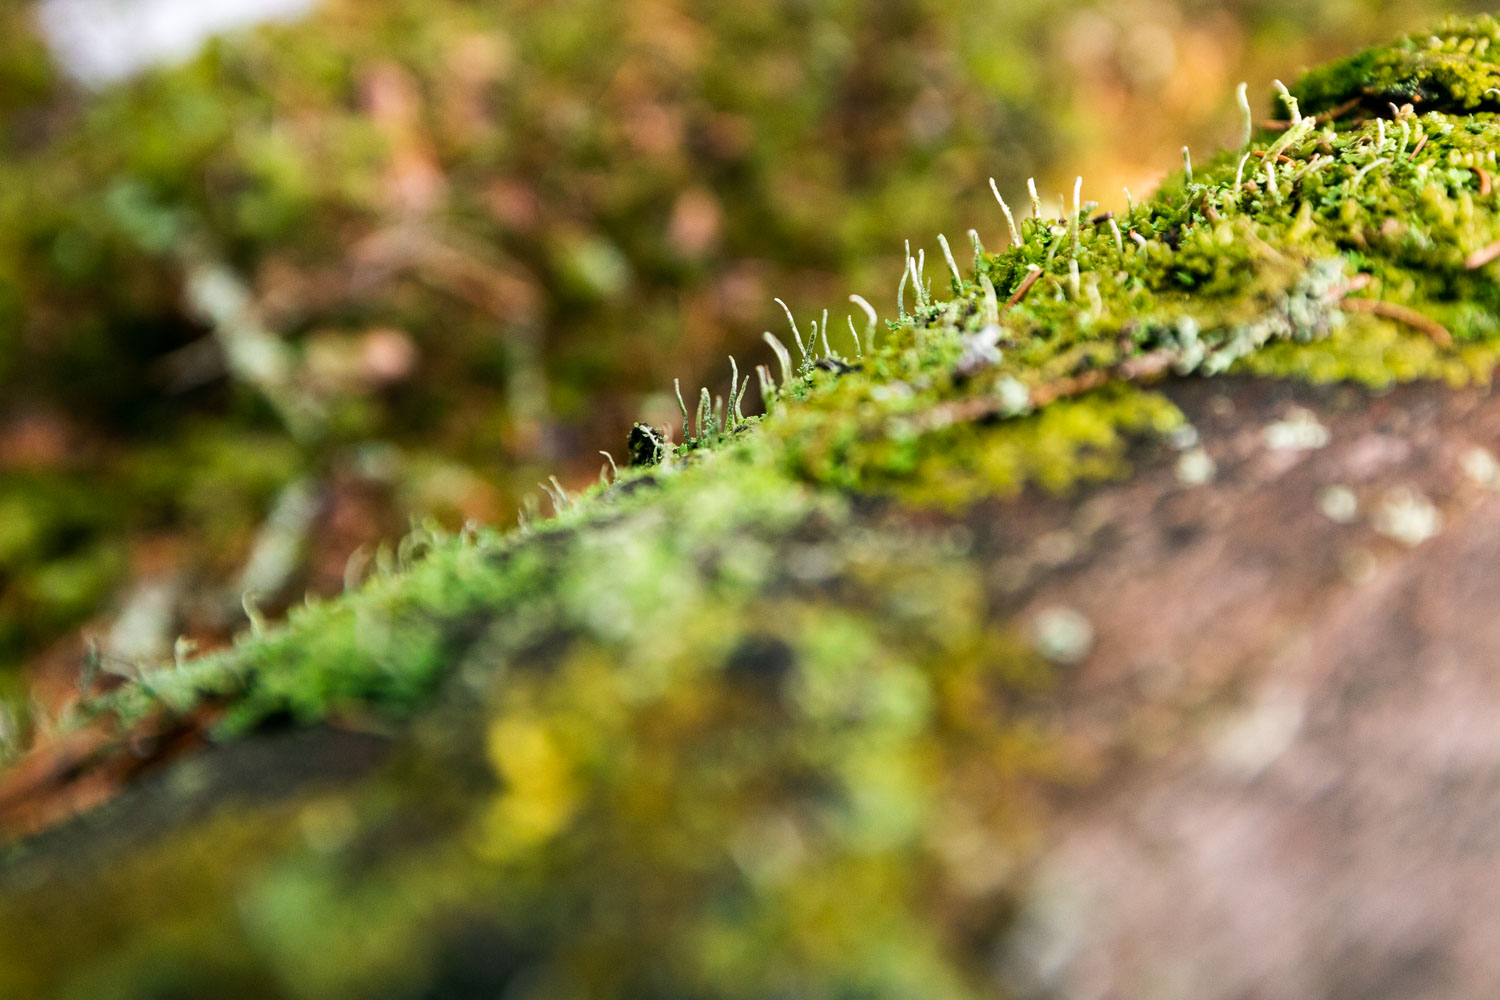
    It’s not a macro lens but you can get close if needed.
    Luontokuvia RF 15-35 mm -linssillä
    Go wide. Go spacious.